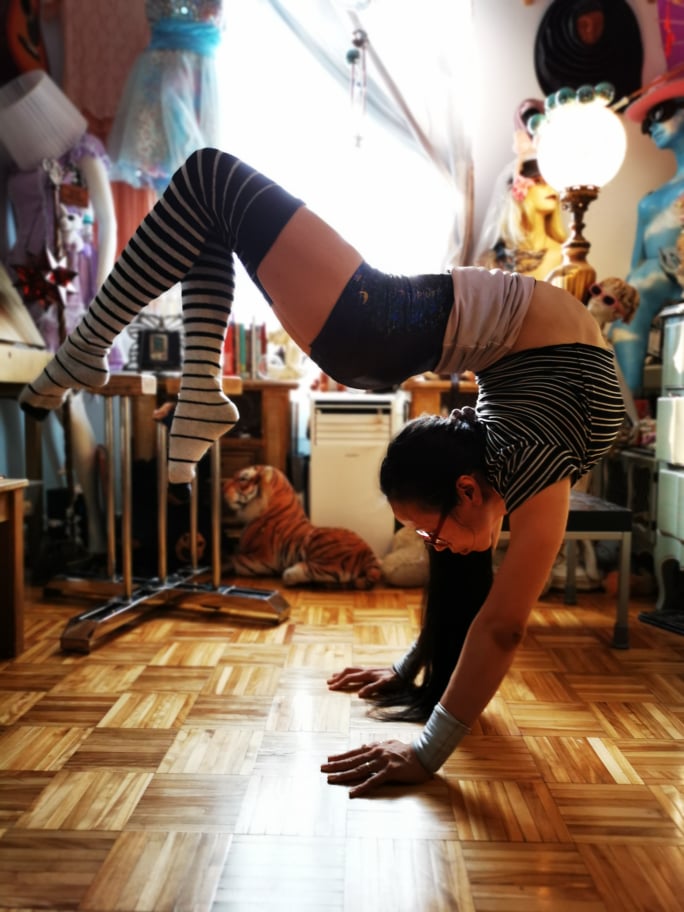
Breathing: one of the *big* topics in contortion that I feel not many people talk about until they stop breathing, and then it does become an issue. Whenever I teach new students (regardless of how stiff or bendy they are), I often catch them holding their breath so much that they don’t have any stamina to stay in a pose. Obviously, we need oxygen, but how do we get it if we are in a deep shape?
Generally, our instinct is to clench our jaw and tense our entire body whenever we are doing something difficult, and contortion training is one of the trickiest disciplines to work on as we have to relax and engage specific muscle groups. To the untrained practitioner, it will feel like clenching everything to death is the easiest way to get deeper or stay in a posture, when it is rather counter-productive. This blog will seek to illuminate what kind of breathing we do in contortion, how we can use breath to relax and engage different muscles, how to breathe in chest stands, dropbacks and handstands (where people struggle the most) and how to use sharper inhales or exhales selectively for strength moves!
How Do I Breathe?
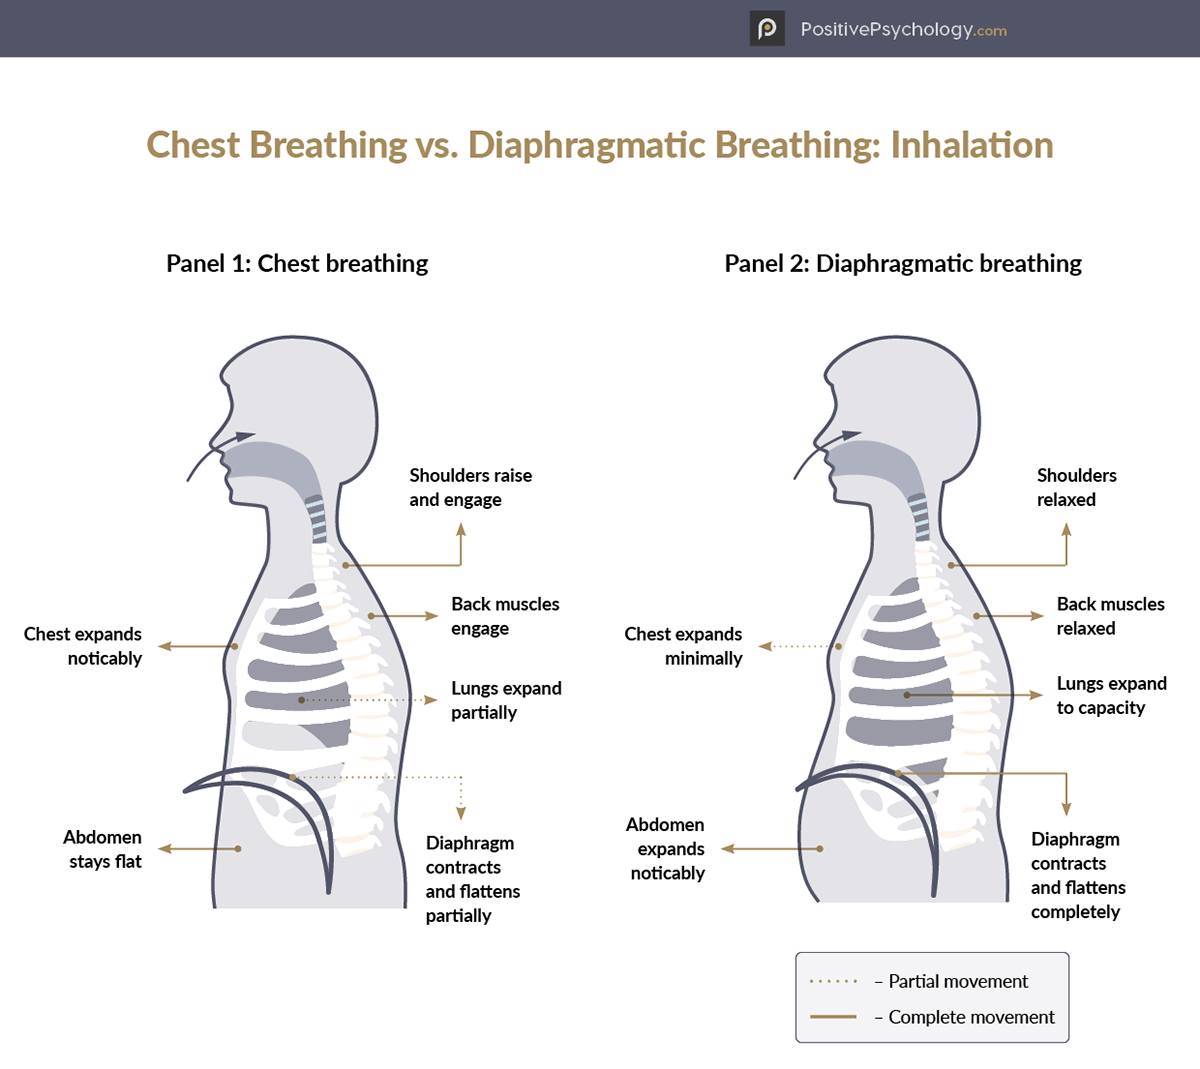
Firstly, let’s clarify something. There are two general types of breathing: chest (shallow) breathing and belly (diaphragmatic) breathing. To summarize, diaphragmatic breathing is when we use the diaphragm to increase space in the lungs to its full capacity; as such, the diaphragm presses on the contents of our abdomen with each inhale, inflating the stomach noticeably. Exhalation, in turn, is a passive process in which the diaphragm relaxes and lowers the abdomen. Chest breathing is more shallow: we use the muscles in the upper chest, shoulders, back and neck (I’ll talk about this later) when we inhale. Inhalation is shallow and doesn’t provide a lot of lung expansion, meaning we don’t get a lot of oxygen with chest breathing. It’s also interesting to note that chest breathing is associated with the fight-or-flight response, while diaphragm breathing is associated with the parasympathetic response (“rest and digest” mode). However, I’ve discovered a workaround—engaging in prolonged inhales and exhales during chest breathing allows your nervous system to calm down. It’s important to recognize that the association between the fight-or-flight response and chest breathing is what sometimes intensifies panic, especially when sharp inhales are involved.

As you may have guessed, chest breathing is not ideal in our daily life, as it doesn’t provide as much oxygen to the rest of our body as diaphragm breathing, but it is the main type of breathing we utilize in contortion positions. Belly breathing allows oxygen to fill our lungs fully by inflating our diaphragm, but it is dangerous to utilize in contortion as the expansion of the abdominal wall relaxes our front line of muscles too much, potentially causing the spine to collapse in a deep bend. Chest breathing is not as efficient as we do not get as much oxygen into our lungs, but it allows us to control our abdominals better. As such, it is the main type of breathing we use in contortion.
One of my old coaches uses to joke that contortionists aren’t very smart because we never get enough oxygen, which I found quite funny even if the former bit isn’t true. Personally, when I do anything new in contortion, I have the tendency to yawn a lot as my body is still acclimatizing to the move so I am not able to get enough oxygen into my lungs- this is kind of normal as well! As I’ve gotten used to the skills I used to yawn through, my yawning has also lessened the better my breathing became!
What we *don’t* want to do is to breathe through your mouth, so let’s get that out of the way. Mouth breathing tenses your jaw, making upper back engagement much harder. If you have a cold and can’t breathe through your nose, you can sometimes do a ‘hissing breath’ through your mouth on your exhale and a sharp intake of air through your mouth like you’re trying to make your mouth like a suckerfish will help. However, it is not ideal.
How Do I Use My Breath In Contortion?
Firstly, breathing is not something that will come naturally in contortion. Like with most things, it needs to be trained, and training breathing will also allow you better control over your nervous system, so you can choose which muscles to engage or relax. Personally, I have mastered breathing to the point I am able to hold a full conversation in a deep chest stand or while I’m doing handstand push up reps. This is ideal: if you can’t talk in your classic chest stand, you may want to evaluate if you’re actually optimizing how you breathe.
I think of breath as one element of nervous system conditioning. The practice of contortion over time changes our nervous system so we are able to approach stressful stimuli (a deep stretch) with calm and ease. In fact, contortion can be summarized as getting used to deep and stressful stimuli by conditioning our nervous system. But what is actually happening when you breathe during contortion?
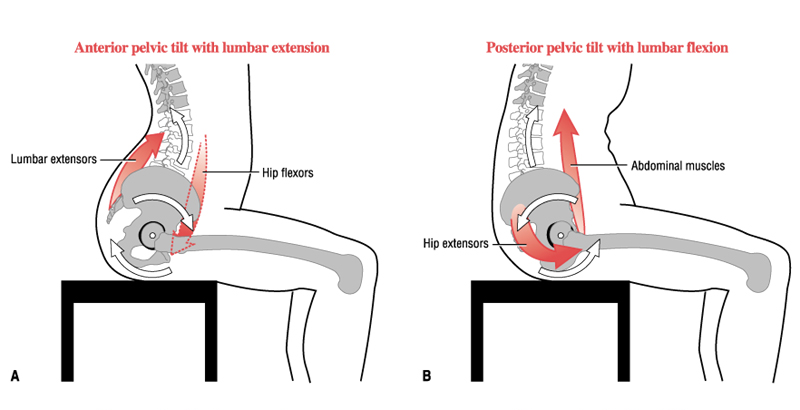
When you inhale, your lats and back extensors are put on tension, and these muscles subsequently relax during exhalation. Likewise, your pelvic floor and deep abdominal muscles tense during exhalation, providing a stable foundation for deeper bends without a sense of instability. That is why using your inhale to pull your sides and fronts so you can bend deeper and using your exhale to relax your body and mind works so well, because your pelvic floor/ low abs are better able to stabilize your body upon the exhale! But how does this look like practically?

Firstly, I like to make my exhales longer than my inhales, and I selectively use my inhale to contract the muscles I desire and my exhale to relax the muscles I desire to release. For example, in a lunge, I would inhale on the count of 3 to tuck my ribs, neck and belly in to pull long and exhale on the count of 4-5 to extend my front body and relax my back muscles. If I do this 3-5 times in a row, I can be almost grabbing my leg on the first lunge. Don’t underestimate counting (or asking your coach to do it for you). It distracts your brain with something else to focus on besides the intensity of what you’re doing, enabling you to stay in a shape for twice or three times as long! If your arms are overhead, you can also use your long inhale to elevate/ shrug your shoulders and “wrap” your shoulders (shoulder blades separating/ protracting) as you tuck your chin, and your exhale to stretch your lats. As someone with very stiff shoulders, this is one of the ways I’ve been able to use breath to open them up better. That’s it: inhale to pull the spine via pulling the front and sides of the body, exhale to lengthen the back!
Your exhales are your route towards relaxation in contortion. Use your inhales to tense your front/side body consciously to reset everything to neutral, then use your exhales to find where you’re holding tension, whether they be your face, jaw, shoulders or back.
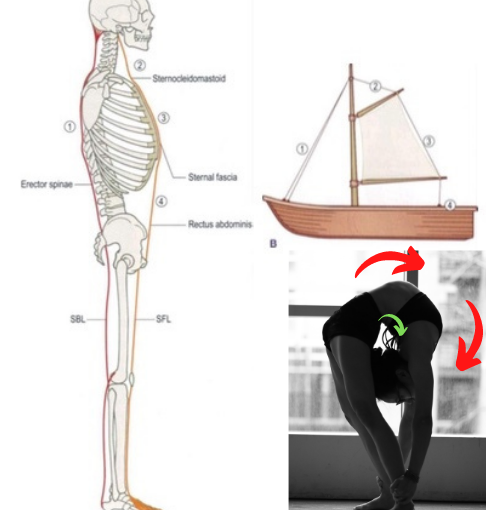
*I’m aware that, traditionally, inhales are sometimes used to relax your back muscles. However, I find this potentially dangerous for contortion as it puts my back on too much slack without adequate tension in my front body (see boat analogy in “How Do You Breathe?” section). The goal of this type of breathing is to put tension on the front line of muscles so the back line can feel safe to bend more.
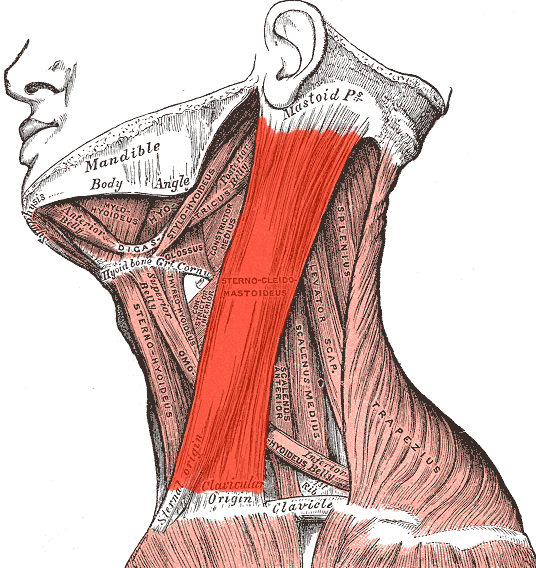
How Do I Breathe In Handstands? Answer: Traps Trap Your Breathing!
The general tendency of everyone is to over-squeeze your upper traps which blocks the sternocleidomastoid muscles/ SCM or “turtle neck” for short when in any inversion. This is because people often confuse shoulder elevation and protraction with over-squeezing their traps to death. The SCM/turtle neck is an auxiliary breathing muscle that helps you to breathe properly through your chest. When your turtle neck is ‘soft’, you naturally won’t be able to breathe. In addition, your turtle neck also allows you to pull your sternum through so you can engage your upper back better. It is both a breathing muscle, as well as the main muscle that helps you to lock out your upper back in handstands so you don’t fall forward.

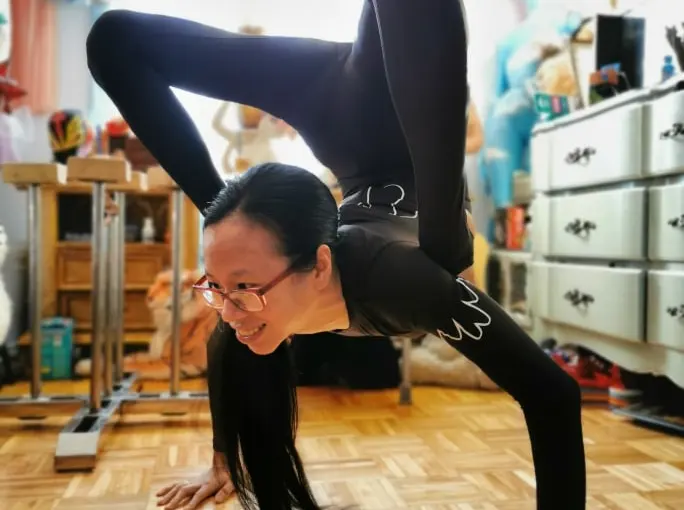
Photo by Sebastien Loze.
Try this: go into a forearm plank and shrug and protract your shoulder blades. Now pull your neck away from your shoulders. Do you notice if you’re over-tensing your traps to stick your head our from your shoulders? Now try to consciously relax your traps and wiggle your head around. From there, tuck your chin to pull your turtle neck out of its shell (your shoulders). Now, try to transfer this engagement to any inversion. Notice if you can wiggle your neck around in your contortion handstand: if you’re unable to, chances are you are probably tensing your upper traps too much.


The same applies with any overhead shoulder position. When you bring your arms overhead, try tucking your chin all the way in or extending your neck to its full potential. If your turtle neck muscles are engaged, you should be able to freely go between flexion and extension. If you feel stuck in extension, you probably are over-tensing your upper traps and not engaging your turtle muscles enough. It’s very difficult for the upper traps *and* turtle neck muscles to be both firing together at the same intensity so being unable to move your head in a backbend is usually an indicator that your upper traps are over-engaging. Take note that the upper traps *do* engage, they just shouldn’t be the main mover of your neck in a backbend.
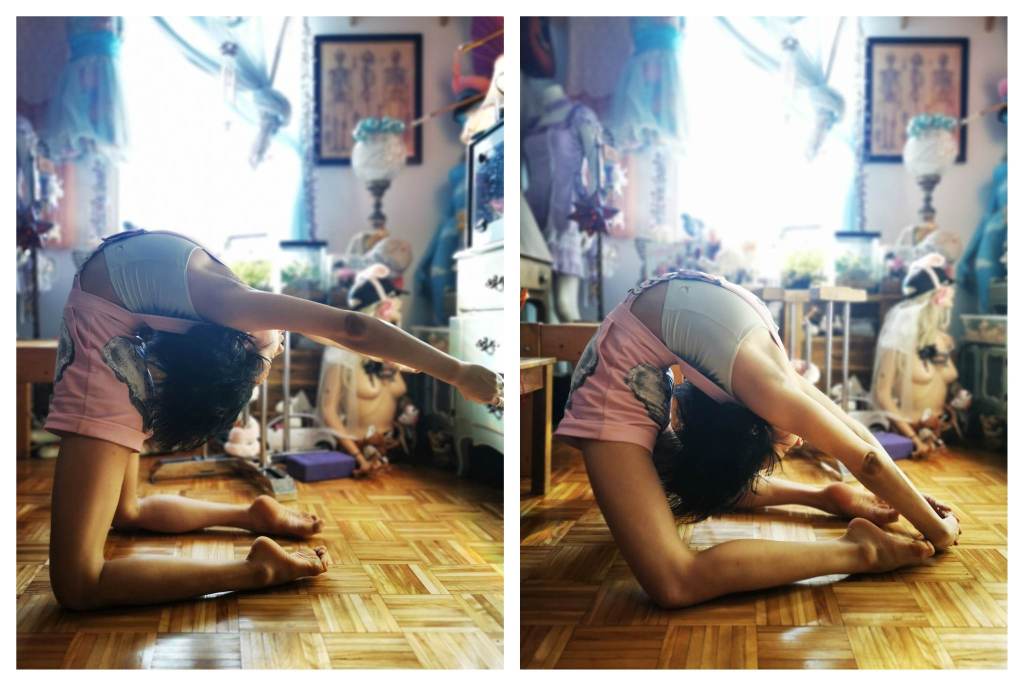
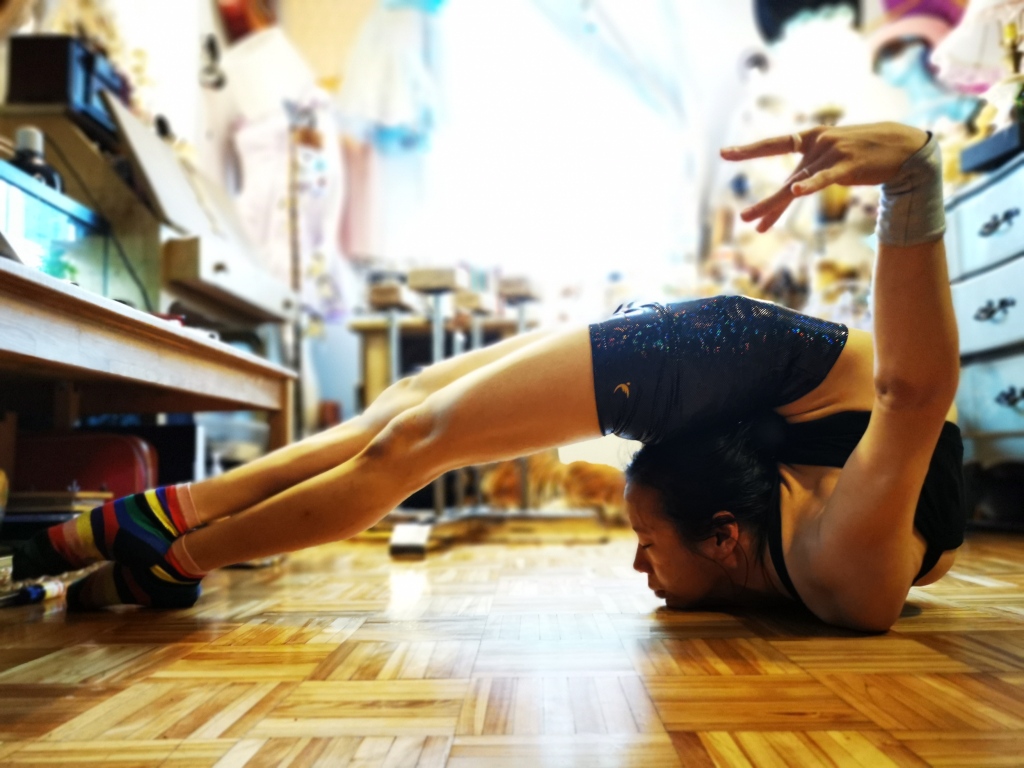
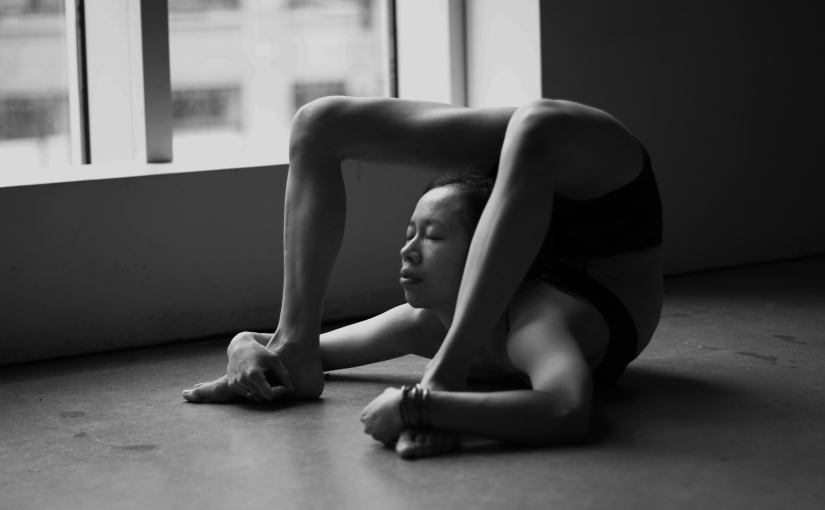
Breathing In Chest Stands
Chest stands are a tricky one, as gravity is pushing your neck and throat towards the ground. If you do not have strong turtle neck muscles, you *will* collapse through your neck. Think of a chest stand almost as a neck hang: How do you expect to support your entire body weight on your neck at full extension if you are unable to tuck and extend your neck normally just sitting down?
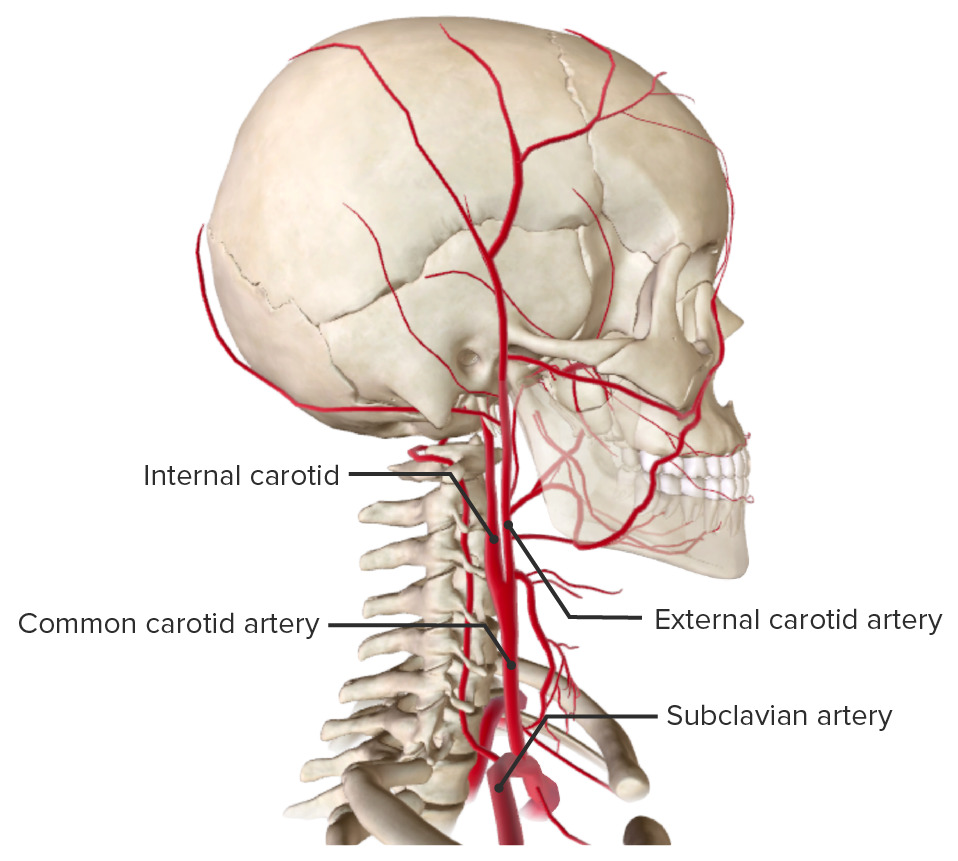
One of the main reasons why people feel lightheaded/ dizzy during chest stands is because they fail to extend properly through their turtle neck muscles, which causes compression in the cervical spine. There are many nerves and arteries running along the cervical spine and neck. When receptors within the arterial walls of your neck detect a sudden increase in pressure, they send signals to the autonomic nervous system, triggering a spike in blood pressure. Consequently, the body seeks to lower blood pressure by expanding all arteries, resulting in a reduced blood flow to the brain. This results in feeling faint or as if you will pass out (and, in some cases, you do). For this reason, it’s rather important to use the SCM/ turtle muscles to extend the cervical spine so we don’t crunch our necks with the weights of our skull! (If you’ve read my “How To Use Your Core In Contortion” blog, this would probably all be familiar information, already.)
How do we find your ‘turtle neck’ muscles, though? How do we even know if we are crunching?

Try this: sit down normally with your shoulders relaxed and your spine at its neutral position (slight lumbar curve, ribs in). Now, tuck your chin in *slightly* until you feel the sides of your neck engage. You can put two fingers on the side of your neck to find these muscles. From here, think of your turtle neck muscles as a resistance band contracting to extend and pull them to extend your neck as far as you can. Notice if your upper traps or shoulders start to tense and, if they are doing so, consciously try to use your exhale to relax them. From here, notice if you can talk and breathe at your end range and use those same turtle neck muscles to pull your neck back to neutral. Do you notice that you can’t pull your head back because your skull is too heavy (I call this “watermelon head”, when your head is so heavy it makes your neck collapse)? Is there a point where your neck stops engaging? If this is you, you may want to spend some time strengthening your SCM / turtle neck muscles before returning back to chest stands. (You can find many ways to train your turtle neck muscles online, so I will not waste too much space explaining the *how* here.)

So, obviously, neck weakness is the number one reason why you may feel suffocated in your chest stands, but it is not the only one. Whenever I go into a deeper bend like triple fold, I will always tuck my chin out to extend my neck so I know its at its end range before I bring my knees down. This ensures that my neck is at its optimal range and I am not crushing my throat. However, you can also do this in a regular chest stand: use your low abs to keep your butt from dropping into your low back and see if you can lift your chin off the ground by pulling *forward* and up. Never pull your chin just up, as this will crunch the back of your skull. Rather, focus on extending the sides of your neck like a turtle poking its head out of its shell! Working on lifting your chin in a classic chest stand may seem hard, but it is one way to condition your neck.
Another detail I will mention is your face (silly I know). Are you tensing your entire face when doing a chest stand? Is your forehead wrinkled like an old person? If you are, you probably are wasting energy contracting your facial muscles that you could be using to fuel your turtle neck. Consciously use your exhale to relax your face. Always look like you’re enjoying what you’re doing, even if it is a lie.
Can you already do a chest stand fairly comfortably but only struggle to breathe when you start deepening your posture into an overarch? Using the technique I mentioned- finding your maximum neck extension before deepening- is essential, but you may also want to observe *where* in your body is tensing or relaxing. If you’re doing an overarch, are your hips, inner thighs and upper hamstrings engaged? How about your deep/ lower abs? If your legs feel out of control or your abs aren’t engaged, your brain will also send signals to your body that it feels unsafe and you’ll feel dizzy. If you’re looking to deepen a pose safely, I strongly recommend getting a private lesson with a competent coach so they can better troubleshoot the specific details of *why* you’re feeling as you do. Almost all of the time, I’ve been able to detect details students may have missed that obstructed their breathing in a single lesson.
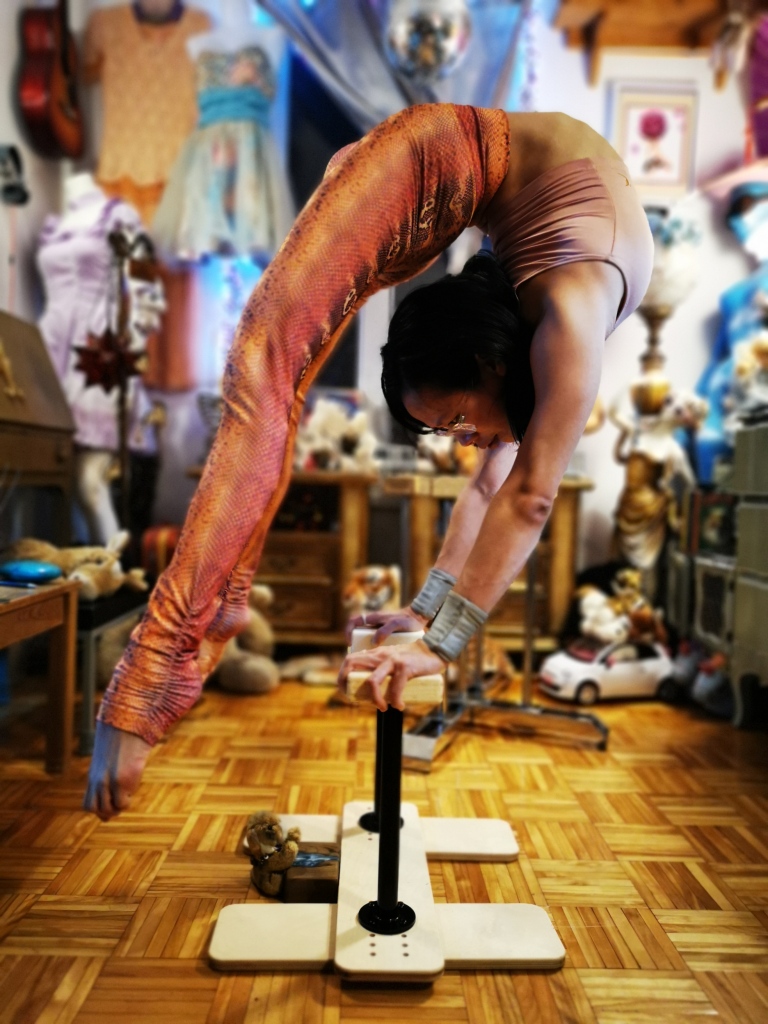
How To Breathe In Dropbacks
Dropbacks are one of the other skills/ positions in which I find people feel dizzy/ disoriented and stop breathing. Sometimes, even a lunge backbend can make people feel dizzy or faint if they aren’t engaging the right muscles! (Fun fact: The only time I had a student faint in my class was during a lunge backbend, because she wasn’t breathing.) But why do we feel dizzy in dropbacks?

There are three main reasons, in my opinion. The first is inadequate grounding in the lower body because of inactive lower abs, inner thighs and upper hamstrings. Pushing your upper body into a backbend without your lower body rooting will almost instantly cause instability. If your lower body isn’t rooted to the ground, it will feel like someone pushed a heavy weight on you so you are suffocating because your core can’t engage; imagine a flyer doing a handstand on you when your body is totally lax, and you’ll get an idea of why this is not ideal. So, firstly: always make sure you’re rooting through the inside of your legs (I like to think of “breaking the ground” with your big toes) and pushing forward and upwards with your hips. If your lower body is grounded enough, it will be lighter when you bring the upper body into the picture.
Secondly, the upper body needs to be adequately engaged. So, when you add your upper body, make sure your shoulders and neck aren’t “shrinking” like you are scared of the ground. Rather, reach actively for the ground like you are reaching for a piece of cake near your ankles. Your shoulders reaching actively downwards will also help your hips actively lift upwards, helping both your upper and lower core to engage simultaneously. When searching for engagement, make sure to find an analogy that works for you. I like to cue “be a circle”/ “yin yang”: the upper body reaches down and towards the ankles as the hips reach up and over like two rainbows swirling against each other. Thinking in terms of the big picture will help prevent you from thinking too much about what discrete muscles to use, allowing you to feel the overall movement better.
Thirdly, make sure you aren’t clenching your jaw or holding your breath in dropbacks. The tendency is to squeeze your traps or relax your neck, but any sudden shift of weight (watermelon head, as mentioned above) will make your lower core feel unstable. Make sure you are elongating and extending actively through your neck, shoulders and upper back to counter-balance your hip and lower back extension. If you have a tendency to hold your breath here, make sure your turtle neck muscles are adequately engaged, and consciously try to pull from them!
How To Use Breath In Strength Moves
There *are* select moments where we hold our breath or use our breath to optimize a certain move. One example of this is contortion push ups: I usually inhale on the way up and exhale on the way down. If I coordinate one breath to one push up, I can do ten push ups in a row fairly efficiently without feeling like I am exerting myself. This is because the inhale puts my body in tension, making the “up” easier.

When I started learning Mexicans, I had a lot of trouble breathing as Mexicans put your entire body on tension since you are, essentially, fighting gravity to stay in the position- your shoulders are resisting against your hips at their full extension. In such a position, it’s quite hard to breathe. Likewise, my students who are new to contortion handstands have a hard time keeping their shoulders elevated and protracted to support the weight of their hips. In both instances, I use a sharp inhale (putting tension in your body) to elevate and protract the shoulder blades so you find your optimum shrug. If I am in a Mexican, I would hold my breath for a few seconds as I leaned into the posture, and then afterwards I would breath normally. Utilizing this technique, I am now able to breathe normally throughout my entire Mexican without much effort, as I have trained my body to learn where it can get pockets of oxygen, allowing my body to feel safe to go deeper.
For regular handstand presses or one arm presses, I also find doing a sharp inhale on the push, holding your breath as you lift, and then breathing normally quite useful in finding the right body tension to press efficiently. The danger, here, is that it’s very tempting to keep holding your breath to keep your body at its desired shape. Do not do this! One way I use to trick my body into breathing normally so I don’t feel like I’m fighting for my life is to consciously relax through my jaw and increase the tension in my turtle neck muscles slightly. This usually allows me to imbibe oxygen, the life giving force, again. After all, who wants to suffocate in a handstand?
In Summary…
This blog covered the general points of how to use your breath to… breathe better in contortion poses! Hopefully, the next time you train, you will remember to breathe. Oxygen is, apparently, kind of what separates you from certain death (and sometimes, feeling like certain death). Remember that breathing in contortion is a skill that has to be trained and honed over time. Personally speaking, it took me some time to be able to go from “I am dying right now”, to “I can hold a full conversation in a deep bend”, even *after* I could do crazy deep bends like triple fold, etc. The key is consistency, mindfulness and aggressively trying to relax (an oxymoron, I know). If you can be conscious of how you’re breathing in contortion, you’re already taking the first step!